

Quick Answer: Prepainted aluminium can be successfully repainted when the existing coating is sound, and the surface is cleaned and lightly abraded as necessary. The new primer and topcoat must also be compatible with the original finish. AkzoNobel’s Care and Maintenance Guide for Coated Metal Panels emphasises the importance of surface preparation and intercoat adhesion testing before repainting factory-finished panels.
Meanwhile, KTA-Tator’s guidance on painting aluminium substrates recommends test patches when compatibility with an existing coating is uncertain. The key is to treat pre-painted aluminium as an existing coating system, not bare metal, and to select a repainting method that suits its coating chemistry, condition and intended service environment.
What Is Prepainted Aluminum?
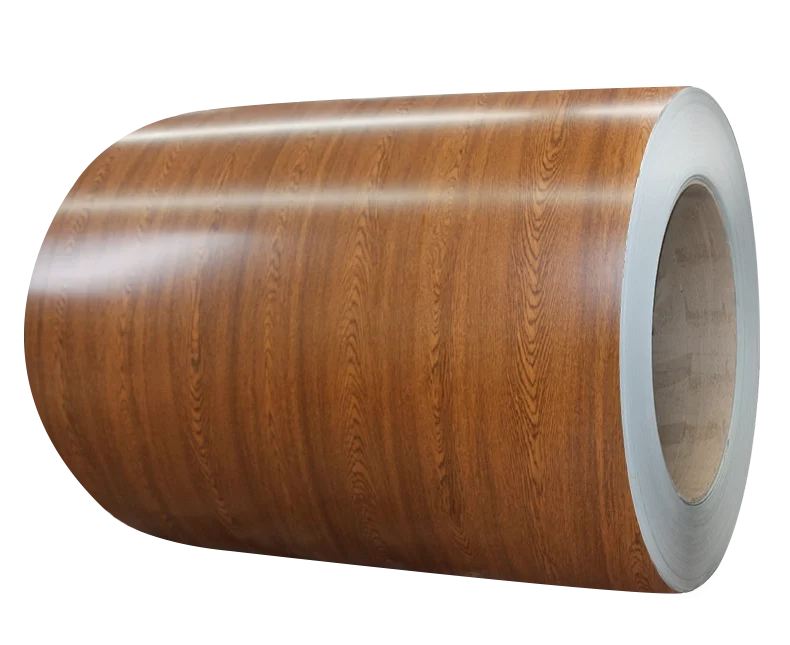
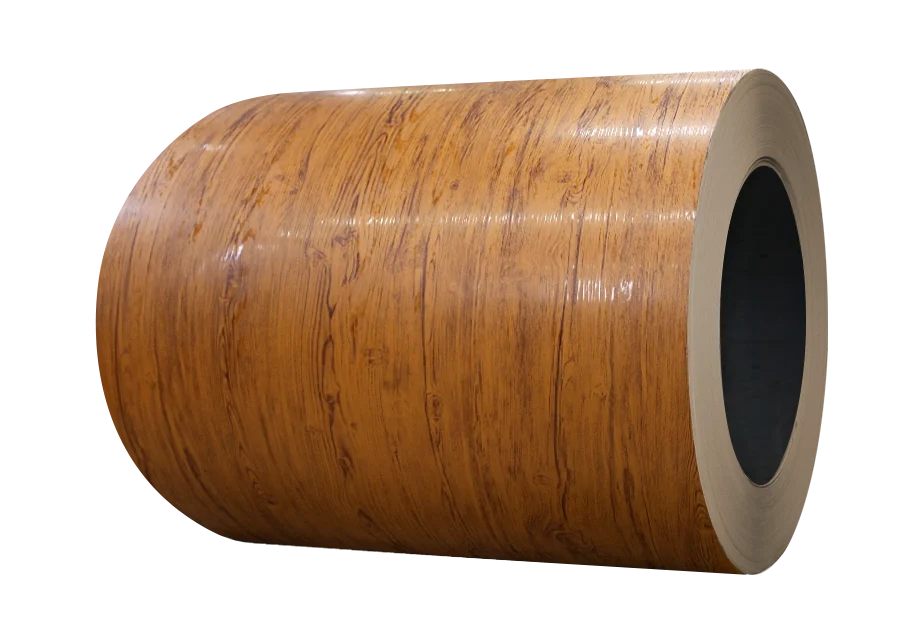
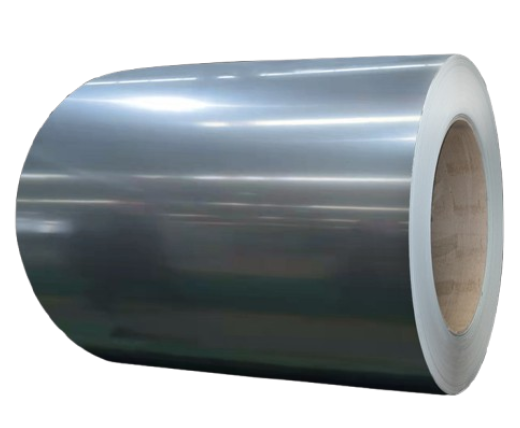
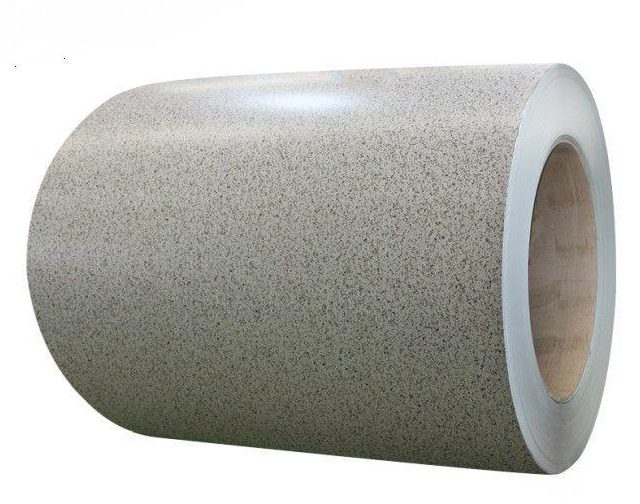
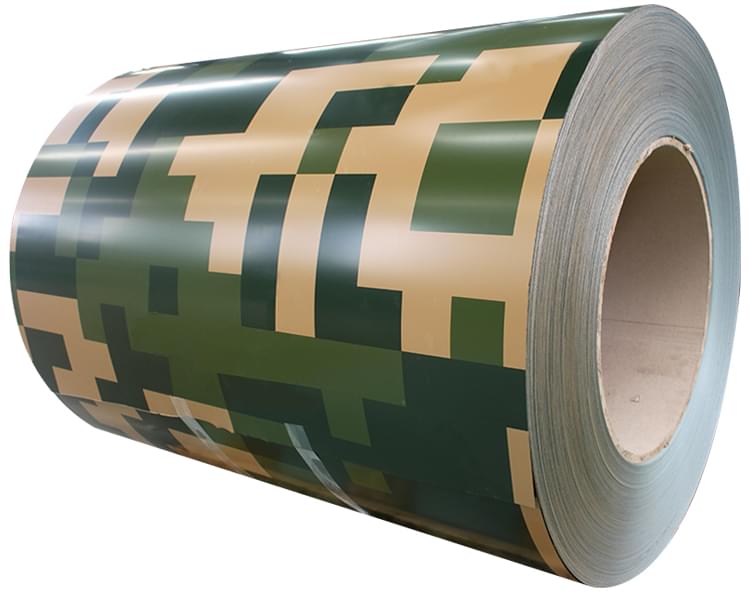
Prepainted aluminium refers to aluminium sheets, coils or panels that receive an organic coating before fabrication or installation. In a typical coil-coating process, the aluminium is cleaned and chemically pretreated before being coated with a primer and a decorative or protective topcoat. A backcoat may also be applied to the reverse side. These coatings are then cured under controlled production conditions to ensure consistent colour, film thickness and surface quality. According to the National Coil Coating Association, prepainted metal benefits from cleaning, pretreatment, priming and coating before forming. AkzoNobel’s coil-coating documentation, meanwhile, describes the layered structure of the coating system.
Prepainted aluminium is widely used in building façades, roofing, wall cladding, ceilings, signage, appliances, transportation components and other products where appearance and corrosion resistance are important. Depending on the product, the factory finish may use a polyester, silicone-modified polyester, polyurethane or fluoropolymer (such as PVDF) coating. These finishes are not interchangeable; their surface characteristics, weathering resistance and compatibility with new paints can differ significantly. Before choosing a repainting system, it is important to identify the original coating, check the manufacturer’s maintenance instructions, and establish whether the goal is a colour change, a cosmetic refresh, or restoration of a deteriorated surface.
Can You Paint Over Prepainted Aluminum?
Yes. It is feasible to paint over pre-painted aluminium if the original coating is firmly attached, the surface is properly prepared, and the new coating system is approved for the existing finish. In many cases, it is preferable to retain a sound factory coating rather than strip it completely, because removing the original finish can increase labour costs, expose the substrate, and create opportunities for damage. However, a new coat of paint cannot reliably repair an underlying coating that is peeling, blistering or losing adhesion. AkzoNobel specifically warns that repainting should only proceed after adequate adhesion has been established between the existing finish and the proposed repaint system.
Therefore, the most important decision is not simply which paint to buy, but whether the existing surface is a suitable base. A clean, well-bonded factory coating may require only controlled abrasion and a compatible topcoat or primer system. A chalky or weathered surface requires more thorough cleaning and assessment. Widespread delamination, corrosion beneath the coating, or an unknown finish that fails adhesion testing may require professional remediation or complete removal of the coating. For valuable architectural panels, large exterior installations, or products exposed to severe weather conditions, it is advisable to test the proposed system on a small, inconspicuous area first.
What Paint Works Best on Pre-painted Aluminum?
The best paint for pre-painted aluminium is one that adheres to the existing finish and can withstand the conditions in which the panel will be used. The requirements for exterior cladding exposed to sunlight and rain differ from those for indoor decorative panels, and industrial components may need to be resistant to chemicals, abrasion, or frequent cleaning. The generic name of a coating does not establish its compatibility; formulations within the same paint family can behave differently on specific factory finishes. ASTM D5064-26, Standard Practice for Conducting a Patch Test to Assess Coating Compatibility, provides a recognised framework for evaluating a proposed maintenance coating on an existing coating system.
Common options include exterior acrylic coatings, selected polyurethane systems and specialist maintenance coatings formulated for factory-finished metal panels. In some cases, a compatible direct-to-metal (DTM) coating may be suitable; however, the term ‘DTM’ does not imply that every product can be applied directly to every painted surface. A primer or tie coat may be necessary where the existing finish is difficult to bond to, where bare aluminium has been exposed, or where the manufacturer’s system requires an intermediate layer. For PVDF and other high-performance factory finishes, use a repainting system that is specifically approved for that substrate, rather than assuming that standard household paint will adhere reliably. AkzoNobel’s maintenance guide, for instance, recommends specific repaint products for particular factory-finished panel systems and cautions against applying oil-based alkyd house paint to specified factory finishes.
Paint Selection Guide
| Existing surface or application | Recommended approach | Key precaution |
| Sound, previously painted aluminum | Compatible repaint topcoat; primer if required by the coating system | Clean, prepare, and verify adhesion first |
| Weathered or chalked factory finish | Clean thoroughly and use a coating system approved for the remaining finish. | Remove loose chalk without damaging sound coating |
| PVDF or other fluoropolymer finish | Specialist coating system approved for the identified factory finish | Do not assume ordinary acrylic or household paint will adhere |
| Localized bare aluminum | Suitable aluminum pretreatment or primer, followed by a compatible topcoat | Avoid leaving exposed metal unprotected |
| Aluminum with widespread peeling or blistering | Assess the cause; remove unsound coating and repair or refinish as specified. | New paint will not stabilize a failing underlying layer |
| Exterior panels in severe environments | Exterior-rated system matched to UV, moisture, temperature, and chemical exposure. | Confirm the full system’s service suitability with the manufacturer |
This table is a starting point, not a substitute for the coating manufacturer’s technical data sheet. The existing finish, panel condition, exposure level, and local application requirements determine the final specification.
How to Paint Prepainted Aluminum: Step-by-Step
A reliable repainting job depends on preparation as much as paint selection. The objective is to create a clean, stable, compatible surface while preserving as much of the sound factory coating as possible. AkzoNobel’s guidance on repainting coated metal panels stresses removing contamination, checking the original finish, and confirming intercoat adhesion before proceeding.
Step 1: Inspect the Existing Finish
Examine the aluminum for peeling, blistering, chalking, scratches, corrosion, dents, and signs of water intrusion. Pay particular attention to panel edges, fasteners, seams, cut edges, and areas where the coating has been damaged, because deterioration in these locations may indicate a problem beneath the visible surface. If the coating is loose over a large area or corrosion appears to be spreading underneath it, determine the cause before repainting. Covering defects without addressing them may produce a fresh-looking finish initially, followed by renewed peeling or blistering.
Where possible, identify the original coating from project documents, product labels, supplier records, or the panel manufacturer’s maintenance guidance. This is particularly important for architectural aluminum with PVDF or another specialized finish. If the original coating is unknown, conduct a small compatibility test and seek technical advice before treating a large or high-value installation.
Step 2: Clean and Degrease the Surface
Remove dust, airborne deposits, grease, mildew, and other contaminants using a cleaner approved for the existing finish. Use a soft cloth, sponge, or non-damaging brush as appropriate, then rinse thoroughly with clean water if the cleaner’s instructions require rinsing. Residual detergent, cleaning chemicals, or oily contamination can interfere with adhesion even when the panel looks clean. Allow the surface to dry completely before abrasion, priming, or painting.
Avoid aggressive solvents, strongly acidic or alkaline cleaners, and abrasive pads unless the panel manufacturer specifically approves them. These materials may dull, soften, stain, or otherwise damage the factory coating. Arconic’s guide for prepainted aluminum sheet products advises following the applicable cleaning guidance and testing cleaners on a small, inconspicuous area first.
Step 3: Lightly Abrade Where Appropriate
Once the surface is clean and dry, lightly abrade it if required by the chosen coating system. The goal is to remove weak surface material and create a uniform key for the new coating—not to strip the factory finish or expose large areas of aluminum. Use the abrasive grade or nonwoven pad specified by the coating manufacturer, and apply consistent pressure so that the surface does not become uneven. Older finishes may need more preparation than newer ones, but the condition of the coating matters more than its age alone.
After abrasion, remove all dust and wipe the surface using a cleaning method approved for the existing finish. Do not use ordinary steel wool or tools contaminated with steel particles on aluminum, as embedded ferrous contamination can cause staining and corrosion. If abrasion exposes bare metal, treat those areas according to the selected system’s aluminum-primer instructions rather than simply applying the topcoat over them.
Step 4: Test Adhesion and Compatibility
Before painting the entire panel, prepare a small test area using the complete proposed system, including primer and topcoat where applicable. Follow the specified application and curing times, then inspect the patch for wrinkling, softening, blistering, lifting, discoloration, or poor bonding. A coating that appears dry after a short period may still be chemically incompatible or inadequately adhered, so evaluate it only after the manufacturer’s stated cure period.
ASTM D5064-26 addresses patch testing for compatibility between a maintenance coating and an existing coating, but it does not establish a universal pass/fail threshold for every project. Acceptance criteria should be agreed with the coating manufacturer or project specifier, and the test must also consider the condition of the original coating itself. If the patch fails, do not proceed by simply applying another coat; review the surface preparation, coating compatibility, and condition of the underlying finish.
Step 5: Apply the Appropriate Primer
Apply a primer only when the selected coating system calls for one, and make sure it is suitable for the existing factory finish or any exposed aluminum. A primer designed for bare aluminum is not automatically appropriate for an intact PVDF or polyester coating, just as a general-purpose metal primer may not provide the required adhesion to a particular factory finish. Where the original coating remains sound, a compatible tie coat or direct-overcoat system may be more suitable than an unnecessary primer layer.
Follow the technical data sheet for mixing ratios, film thickness, application method, drying time, and recoat window. If the surface preparation exposes bare aluminum, do not leave it unprotected for an extended period; aluminum’s surface condition can change after exposure, and the selected primer may specify a limited interval between preparation and application. PPG’s aluminum surface-preparation procedure illustrates why exposed aluminum requires a dedicated preparation and priming process rather than being treated like an already coated surface.
Step 6: Apply the Topcoat Evenly
Apply the topcoat using a brush, roller, or spray equipment approved for the product and project. Spraying can provide a uniform finish over large, accessible panels, while brushes and rollers may be practical for smaller repairs or localized repainting. Use the manufacturer’s recommended application thickness and avoid trying to achieve full coverage with one excessively heavy coat, which can lead to runs, sagging, uneven curing, or trapped solvent.
Environmental conditions also influence the result. Check the permitted air and substrate temperatures, relative humidity, ventilation, and dew-point requirements before starting. Do not paint a wet surface, condensing moisture, or too hot for the product’s application limits. For exterior work, plan around rain, dust, wind, and direct sunlight so that the coating has the conditions it needs to form a sound film.
Step 7: Allow Full Curing and Inspect the Finish
Respect the specified drying and curing schedule before handling, cleaning, assembling, or exposing the repainted aluminum to service conditions. “Touch-dry” does not necessarily mean that a coating has reached its final mechanical or chemical resistance. Premature handling, rain exposure, or contact with cleaning chemicals can damage a finish that has not fully cured.
Once curing is complete, inspect the surface for color variation, pinholes, runs, missed edges, blistering, and peeling. For commercial or industrial projects, document the products used, batch numbers, surface-preparation method, application conditions, and inspection results. This information helps with future maintenance and makes it easier to investigate problems if the new finish does not perform as expected.
Common Problems When Repainting Prepainted Aluminum
Most repainting failures can be traced to a mismatch between the existing finish, the preparation method, and the new coating system. A panel may look smooth and clean but still carry wax, chalk, oil, or a weak coating layer that prevents the new paint from bonding. AkzoNobel’s maintenance guide specifically notes that residual factory-applied wax on some recently installed panels can cause poor intercoat adhesion if it is not removed using the recommended procedure.
| Problem | Likely cause | Practical response |
| Paint peels or flakes | Poor adhesion, contamination, or incompatible coating layers | Remove unsound material, reassess preparation, and repeat a compatibility test |
| Blisters appear | Trapped moisture, contamination, or coating-system incompatibility | Identify the source before repairing and repainting |
| Finish looks patchy | Uneven preparation, inconsistent film thickness, or different substrate conditions | Standardize preparation and application; check product coverage guidance |
| Paint scratches off easily | Inadequate curing or insufficient adhesion | Allow the specified cure time and test the coating system |
| Bare aluminum becomes visible | Excessive abrasion or existing coating damage | Prepare and prime exposed areas using an approved aluminum system |
| New coating softens or wrinkles | Solvent or chemical incompatibility with the old finish | Stop application and consult the coating manufacturer before proceeding |
Do not treat these symptoms as interchangeable. For example, peeling caused by a weak original factory finish cannot be corrected simply by choosing a stronger topcoat. Likewise, blistering may indicate moisture or contamination beneath the coating, and painting over the affected area without addressing the cause is likely to result in repeat failure. If a large area is deteriorating, obtain a coating assessment before deciding whether local repair, partial removal, or complete refinishing is the most appropriate solution.
Safety and Maintenance Considerations
Read the safety and technical data sheets for every cleaner, primer, and topcoat used. Provide appropriate ventilation and protective equipment, especially when spraying or handling solvent-based products. Follow local requirements for volatile organic compounds (VOCs), waste disposal, and workplace exposure. When sanding or removing old coatings, assess the nature of the existing material and use appropriate dust control procedures. Do not assume that every old finish can be safely abraded without additional precautions.
After repainting, use a maintenance routine that aligns with the recommendations of the coating manufacturer. Periodic cleaning helps to remove dirt and deposits that can affect the appearance of the finish, while prompt repair of scratches and damaged edges reduces the risk of localised deterioration spreading. Use cleaners that are compatible with the new finish and test unfamiliar products on an inconspicuous area before applying them more widely. For exterior aluminium panels, inspect the joints, fasteners, sealants and areas where water can collect, as well as the painted surface, because the durability of the entire assembly depends on more than just the visible topcoat.
Frequently Asked Questions About Prepainted Aluminum
- Can you paint directly over prepainted aluminum?
Yes, provided the existing coating is sound and the new paint is compatible with it. Clean the surface thoroughly, prepare it as specified, and test the proposed coating system before painting the full area.
- Do you need to sand prepainted aluminum before painting?
Light abrasion is often recommended, but the exact method depends on the factory finish and the new coating system. Avoid sanding so aggressively that you remove the original finish or expose large areas of bare aluminum.
- What is the best primer for prepainted aluminum?
There is no single primer that works for every prepainted aluminum surface. Select a primer or tie coat approved for the existing finish, and use a dedicated aluminum primer where the substrate has been exposed and the coating system requires it.
- Can you paint over PVDF-coated aluminum?
It is possible in some cases, but PVDF finishes can be difficult to overcoat with ordinary paints. Identify the original coating and use a specialist repainting system that specifies compatibility with that finish.
- Why does paint peel off prepainted aluminum?
Peeling results from contamination, insufficient surface preparation, poor adhesion of the original coating, or incompatibility between the old and new finishes. Investigate the underlying cause and test the proposed repair system rather than applying additional paint over a failing surface.
- How long does paint last on prepainted aluminum?
Service life depends on the coating system, surface preparation, application quality, sunlight, moisture, temperature, and maintenance. Follow the manufacturer’s specifications and inspect the finish periodically; no universal lifespan can be guaranteed for every installation.
Conclusion
Preparing and painting pre-painted aluminium is a practical way to refresh a finish, change its colour or extend the useful life of a panel without removing the original factory coating. The most reliable process involves inspecting the existing finish, cleaning and preparing it without causing any unnecessary damage, selecting a compatible primer and topcoat, and verifying adhesion with a test patch before proceeding. For large exterior installations or specialised finishes such as PVDF, the final method should be guided by the instructions of the original panel supplier and the coating manufacturer. Thorough preparation and compatibility testing are more important than simply adding extra layers of paint.